Last week, I posted about the thrift store patio table that I dragged home and painted last summer. I didn’t have the time and inclination to cover the cushions last year because the ones that came with the set were decent enough.
Finally, this summer, I was ready to tackle the project. I decided how I was going to do it, got some fabric at Joann’s with a 40% off coupon and spent the better part of 3 days covering the existing cushions. I didn’t choose a weatherproof fabric because of the expense and the fact that we store the cushions on the porch.
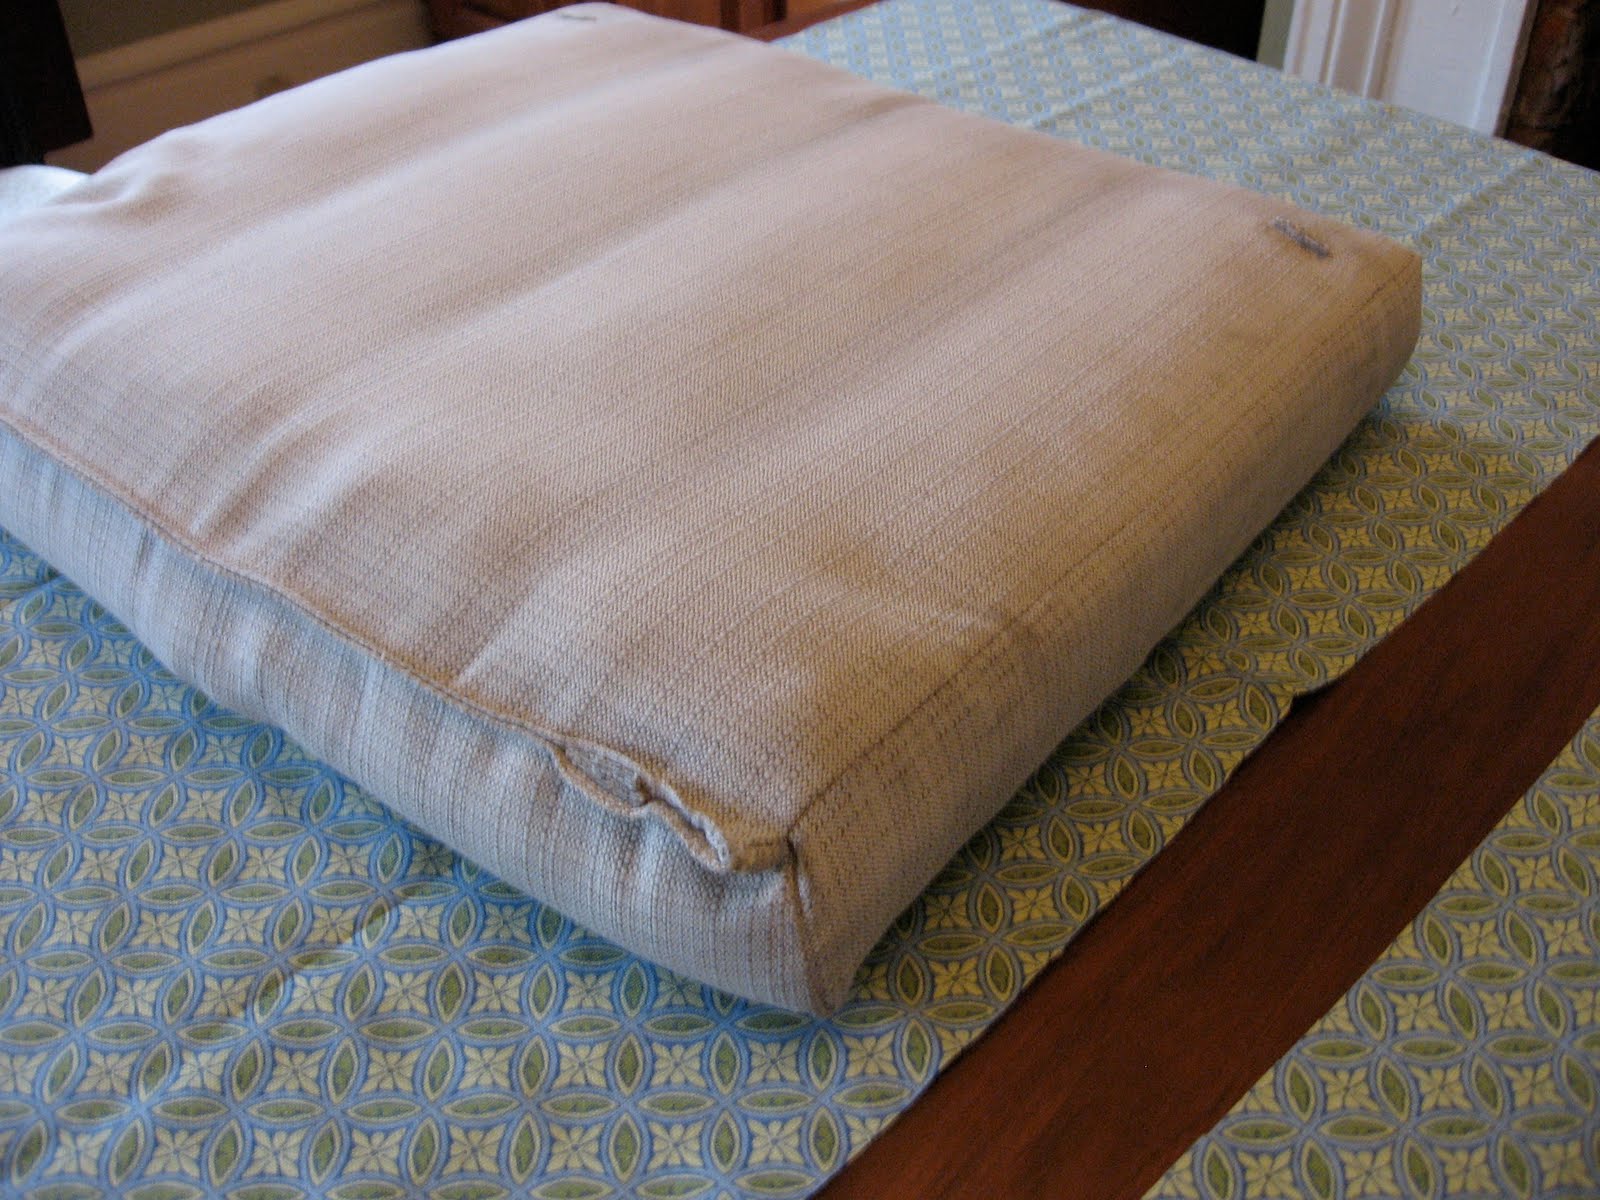
Here’s the finished product…..

I really loved the fabric for the back cushions but decided to use a coordinating plain fabric for the seat cushions. Admittedly, I think I would have preferred a darker blue but-oh well. Did I mention I installed ZIPPERS and PIPING?! I figured out those 2 things by studying a few blog tutorials and youtube videos, figuring a few things out myself and just going for it. Also, with the piping, I worked with small sample pieces to see how it came together.

I am always inspired by DIY bloggers who try something without much experience. I’m especially inspired when the project involves power tools or sewing. I have sewn straight things like Halloween costumes out of fleece but never anything complicated. I have to admit, it took me a while to visualize how I wanted to cover the cushions but once I decided on a method, I went with it.
It’s as basic as design as you could get. Picture a big pillowcase (2 rectangles) sewn together for the back cushions and the ends secured sort of like a present, tucked the corners in and velcro on one end so I can wash the covers.