Category Archives: Recipes

Best pepperoni roll ever

Best Pepperoni Roll (It’s easy, too!)

Best pepperoni roll ever

Photo credit: Hannah Phillips

Remember I posted a recipe for easy homemade french bread? I use the french bread recipe to make the best pepperoni roll. If you don’t feel like making the dough from scratch, you can use Pillsbury French Bread refrigerated dough in a can. My way is cheaper and probably healthier.

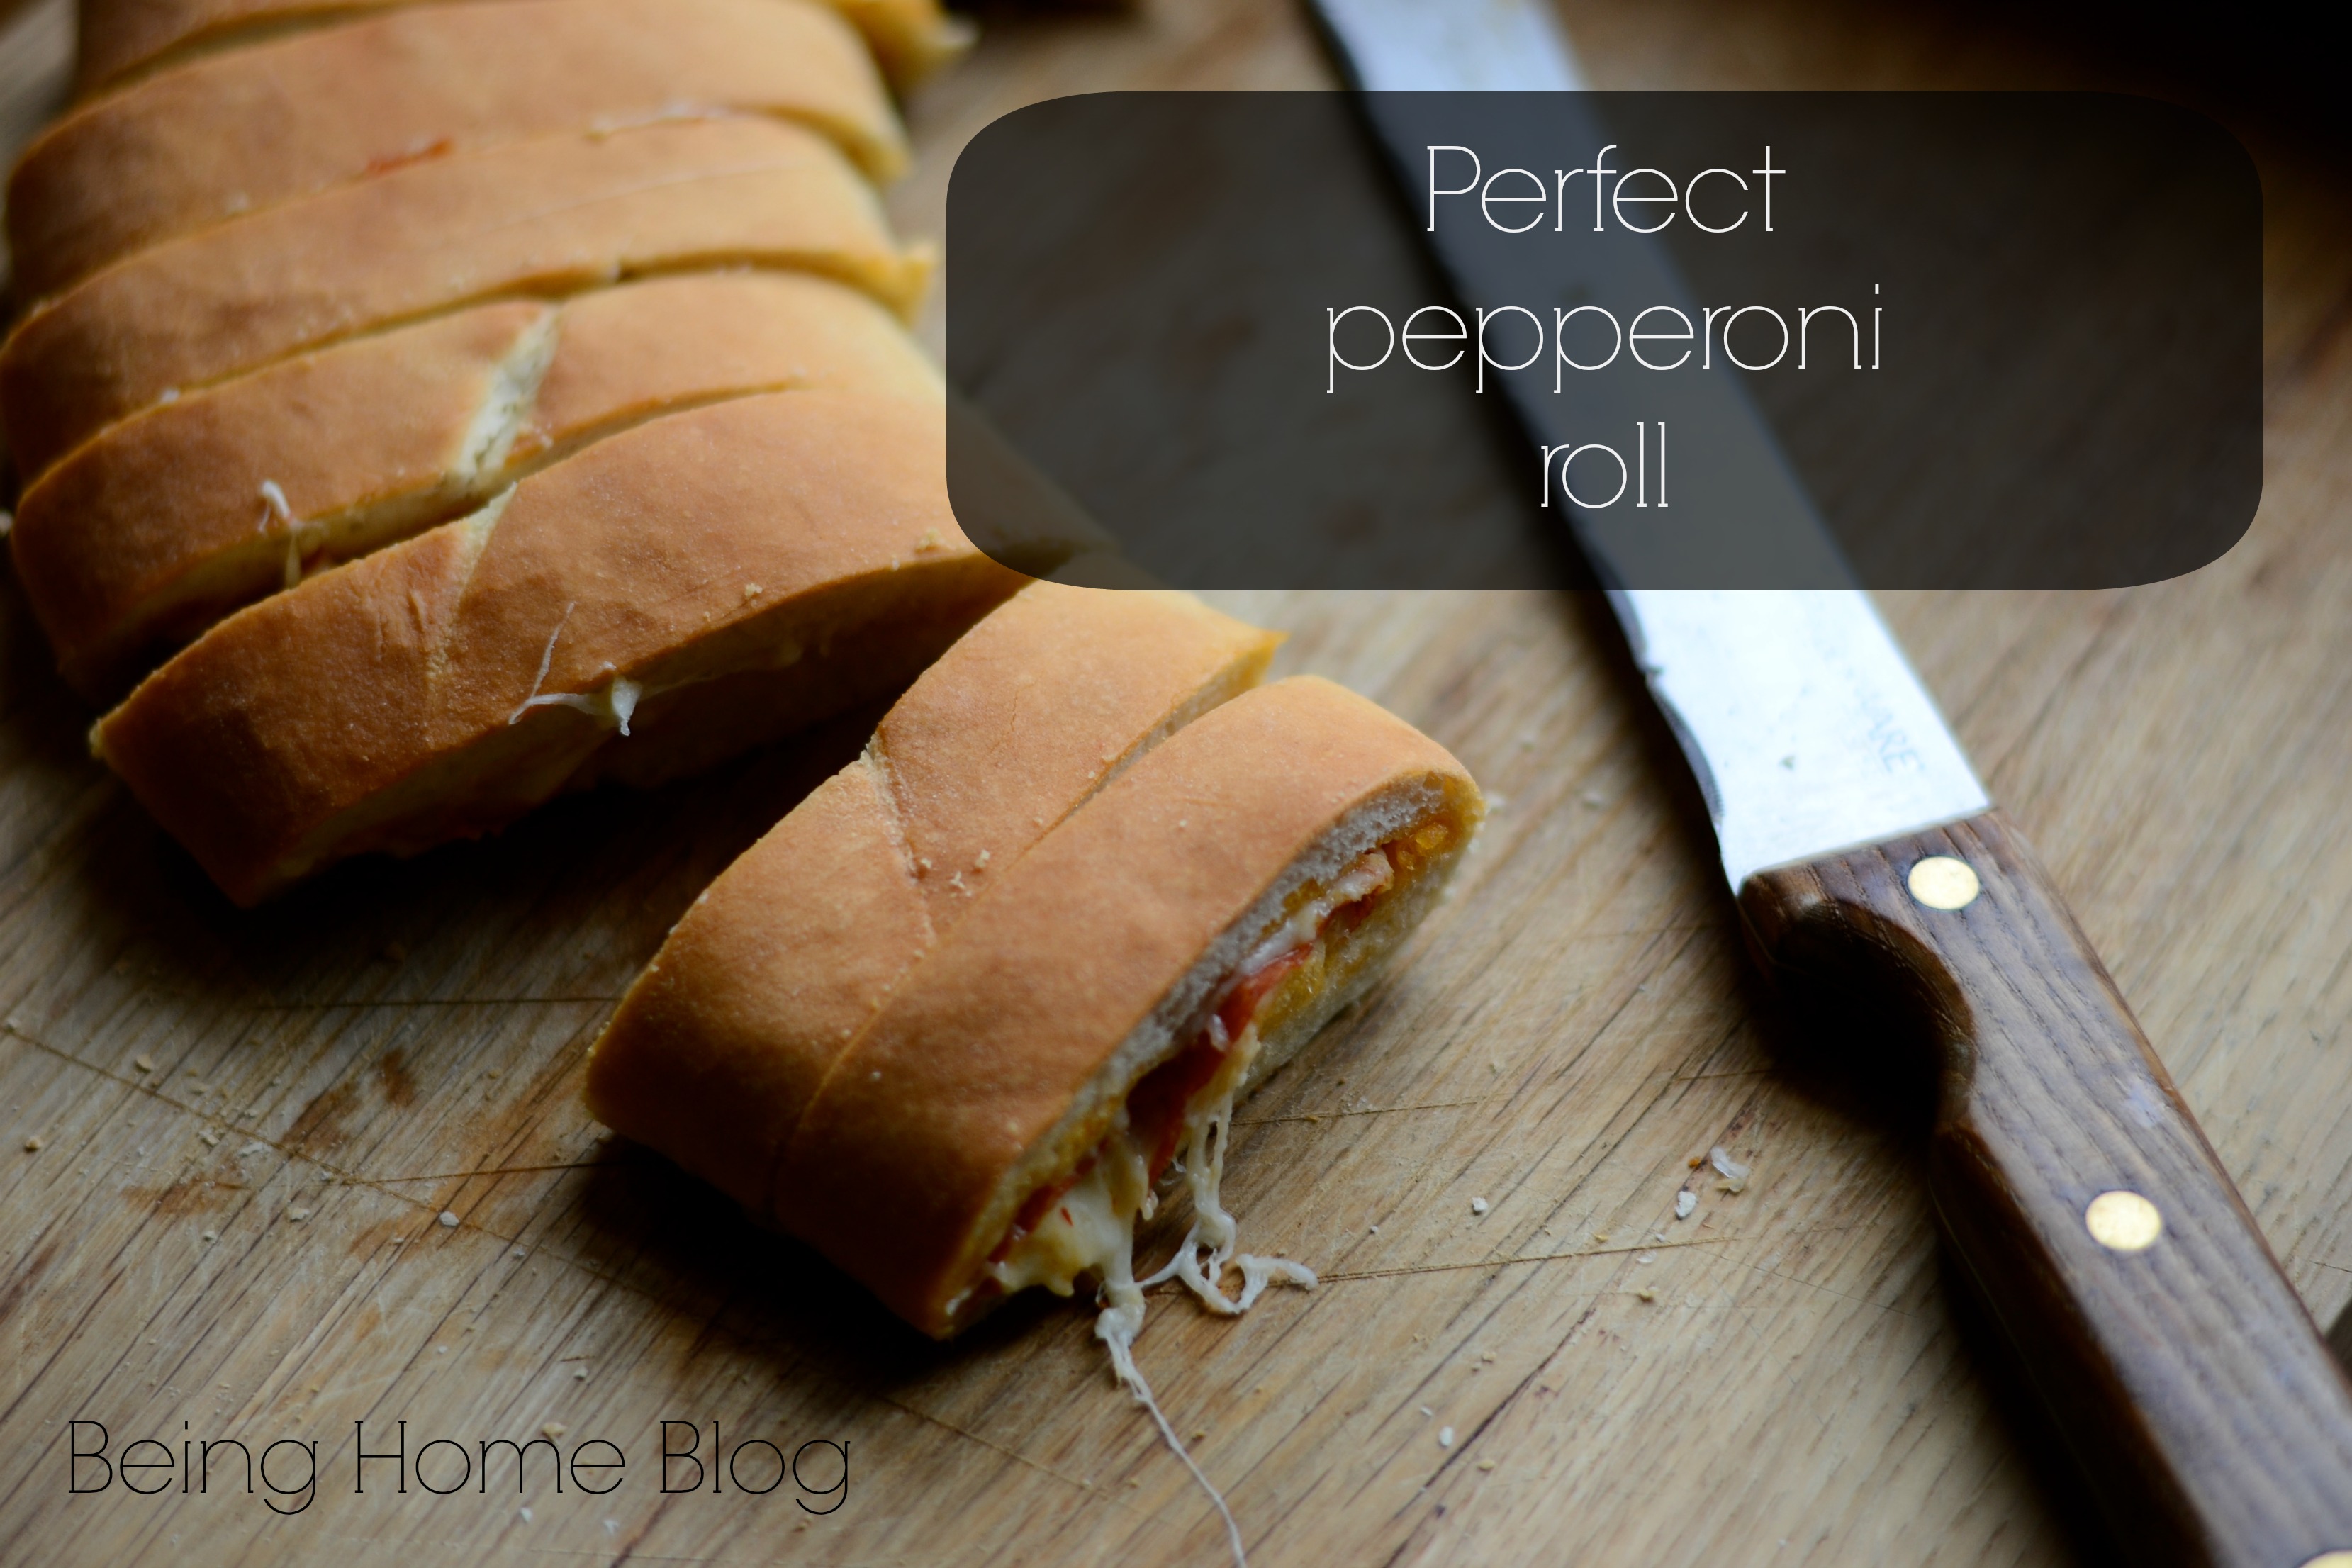
In addition to your dough, all you need is SANDWICH pepperoni and provolone cheese. You can use any meat, veggie and cheese combo you like. I found that the provolone was less gooey than mozzarella, but I substitute or mix them depending on what I have on hand.

Once the dough is kneaded and divided in half, roll one at a time into a rectangle that isn’t longer than your cookie sheet.

Layer 3-4 slices of cheese, then 8-10 slices of pepperoni. I generally do 3 layers of cheese and 2 layers of pepperoni. Cheese first and last.

Next pull the broad sides together and pinch together being careful not to rip. Pinch the ends closed and flip seam side down onto the lightly oiled (I use olive oil) cookie sheet.

Make 3-4 slices across the top of the dough to vent steam. Then repeat the whole process with your second half of dough.

Preheat the oven to 450°. While the oven is preheating, the dough rises slightly. You can let it rise a little longer but I wouldn’t go more than 30 minutes. This just gives you a puffier roll out of the oven.

Bake for 15 minutes. At about the 10 minute mark, I spread the top of each loaf with butter for a nice golden brown color then return to the oven for 5 minutes. It also makes the crust a little less dry but this step is optional.

This is an easy meal for a busy night or a quick lunch for a big crowd of kids. Start to finish, I can bang these out pretty quickly because I’m so used to making the bread dough. If you use the refrigerated dough, I think you unroll it from the can and it’s already the shape of a rectangle. Naturally, this would be quicker with less cleanup.

Enjoy!

So Easy Chicken Noodle Soup

I am totally giving credit to Jenny over at Rainy Day Gal for this 6 for 6 hit. I pinned Jenny’s recipe after clicking around last weekend and will be pinning a few more of hers. She has some great recipes going on over there and great photos to show them off. The photo above is my own, though. Just practicing, people!
I’m keeping Jenny’s pin on my board unless it offends her. Her chicken noodle soup recipe looked like one that my kids all love at a local chain restaurant. Half of our family has been sick, so I thought we’d all enjoy it. We were NOT disappointed. Not only was it easy, it was so delicious and comforting.
Here’s what you’ll need:
8 c. water
6-8 oz egg noodles (kids wanted kluski but I didn’t have any and they’re too expensive)
4 c. chicken broth or stock (you may need to add more as noodles absorb liquid-use your judgment).
2-3 c. cooked chicken. (As per Jenny’s suggestion, I just bought a rotisserie chicken and tore that up)
carrots (I sliced about 4)
celery (I sliced about 5 stalks)
1/2 tsp garlic salt
1/2 tsp sea salt (Jenny’s recipe calls for Kosher salt but I didn’t have any)
pepper to taste
Directions:
Combine soup mix, water and chicken stock/broth bring to boil.
Add noodles and simmer until cooked through (10-12 min.)
Add chicken, carrots, celery, seasoning, simmer for another 20 minutes.
That’s it. Simple and Satisfying.
*Let me warn you, the chicken soup mix was almost $4.00 in the grocery store but with everything, this dinner came in around $12. We had leftovers of a couple of cups for lunch the next day. Amazon’s price isn’t much cheaper (about $3.58 per package) but since this is a meal that would be great to take to someone who needs it (new baby, death in the family, illness), it might be worth having the packages on hand.
I realize that this is not all natural. Sorry about that. To be honest, I don’t have much luck with broth or stock that I make myself. It’s always dull and flat. If you have a fool-proof chicken stock recipe with tons of flavor for soup, please share! I even tried making bone broth out of organic chickens when I tried the paleo thing and it wasn’t too flavorful. All this to say, sorry for whatever is in the bag but my family can handle it every so often.
Disclosure:
There are affiliate links in this post. If you purchase from Amazon, your purchase price is the same and I make a little commission. I hope to share about my experiment to monetize this blog.
Linking up:           The Shabby Nest


Easy Homemade French Bread

This recipe is adapted from one that I found at The Sister’s Cafe. It’s easy, it’s fast, it has very few ingredients and everyone loves it. I even use it to make homemade pepperoni roll which I promise to show you very soon.
Here’s all you’ll need:
1 1/2 Tbs. active dry yeast (I buy yeast in bulk and store it in the freezer)
2 tsp. sugar
1 1/2 c. hot water (I never measure temp, hot to touch is fine)
3 1/2 c. + all purpose or bread flour
2 tsp. salt
2 Tbs. butter
Directions:
Mix yeast and sugar together and sprinkle into a bowl of the  water. Give it a swirl so all the yeast gets wet. Let sit for 5 – 10 min. or until mixture is foamy.
While your yeast is activating, combine flour and salt in a stand mixer with a dough hook. I have also mixed the dough without a mixer and it works just fine.
Slowly pour yeast mix into flour mixture on a slow speed. The dough will be wet and sticky. Add 1/2 c of flour at a time to the dough until it lifts from the sides and forms a ball. Knead with the mixer on low-med speed for another 4 min or so.
Turn dough onto a floured surface and knead a couple more minutes if desired. The texture should be smooth and somewhat elastic. At this point, you can divide the dough in half to make 2 smaller loaves (as above) or you can make one big loaf.
Roll dough into a rectangle about 1/2 inch thick. On a long side, roll up your dough to form a long roll. Do this to both if you made 2. Make a surface slice down the middle or 3-4 diagonal slices on top. Place on a lightly oiled (I use olive oil) baking sheet and cover with a clean cloth for 15-30 minutes. Preheat oven to 450 at this point. When the oven is ready, bake for 10 minutes.
Remove from oven and lightly spread butter on top of crust. Return to oven for 5 more minutes.
*Disclosure: If you decide to make a purchase through my link, Amazon will pay me a commission for it. This doesn’t cost you anything additional. I’m intending to write a post (or series) about my experiment in monetizing my blog content. 

Crockpot Marsala Chicken

Please excuse the heinous photo


This is one of our family’s favorite crockpot chicken recipes. A friend gave me this one. She’s also a mother of 4 and I think this is a “6 for 6” dinner for both of our families (everyone loves it). This recipe is flexible enough to throw together in the morning for a busy day or put together in the afternoon. The most important thing is that the chicken gets cooked through. Even with frozen chicken breasts, it can be finished in 2-3 hours in the crockpot.

Ingredients:

2-4 boneless, skinless chicken breasts (you can start frozen or not)
1 tsp each of oregano, basil and garlic salt
1 c. water
1/2 stick butter (NOT MARGARINE!)
3/4 to 1 c. marsala wine (to taste)
4-8 oz mushrooms (white or portabello) sliced (depends on how much your family likes mushrooms
2 cans Campbell’s Golden Mushroom soup (not cream of mushroom)
4 oz cream cheese

Directions:
Combine water, spices, chicken and butter in crockpot.
Mix one can of the soup with marsala wine and pour over chicken.

The setting on your crockpot depends on whether your chicken is frozen or not and how long you’ll be gone. I can start this in the afternoon with either frozen or fresh chicken and put it on high for an hour and reduce the heat to low for an hour or 2. If I prepare it in the morning, I start it on low and remove the chicken when it’s cooked through if I can, cut it up and set it aside in the refigerator and return it to the crockpot before serving. (I don’t know about you but I think chicken gets a pulverized, dusty consistency if you cook it in the crockpot too long).

About 30 minutes before your ready to serve, put in as many mushrooms as you want. In a saucepan or microwave, heat the other can of mushroom soup with the 1/2 block of cream cheese until the c. cheese is melted and smooth. Pour over chicken and mushroom mix and stir until smooth. This can stay on warm or low in the crockpot until ready to serve.

My friend dumps all the ingredients in the crockpot in the morning with her chicken already cut up and cooks it on low all day and her family loves it, too. She also uses the whole 8 oz. block of cream cheese. I find when I do this, the cream cheese curdles a little. I don’t mind that but the rest of my family does so I use my method. Mark’s not a huge cream cheese fan so I cut it in half and it’s still a hit.

I serve it over rice or noodles. Add a salad and/or a vegetable and you’re set.

Do you have any crockpot chicken recipes that are family favorites?

I’m linking up to Frugal Fridays at the Shabby Nest

The Shabby Nest

Biscuit Pot Pie

I have lots of work to do to make this blog blogworthy. (So, so sorry to anyone who tried the link last week from the Shabby Nest-totally forgot that this was still marked private-oops).
I’ve been wanting a depository for the things I make in the kitchen. So, I figured I should start with a “6 for 6”. That is, everyone loved it. Making pot pie in this form works for a family our size. The 9″ traditional round pot pie just isn’t enough when everyone wants seconds-which everyone did with this dinner-and making 2 pot pies isn’t practical.
A few other things I like about this recipe:
1. It worked and I kind of made it up. Go me!
2. I used leftover chicken, homemade biscuit dough, homemade chicken broth. For the most part, this was economical.
3. It was easy to put together (in spite of the homemade biscuit dough) and baked quickly.
All of the above make it a winner all around. A perfect dinner on a cold winter night.
Biscuit Dough*:
4 c. all-purpose flour
5 tsp. baking powder
2 tsp salt
1/2 c. shortening (or some combination of shortening and butter)
1 1/2 c. milk (or some combo of buttermilk and any kind of milk adding up to 1 1/2 c.)
extra butter to grease the pan and some melted to drizzle on the top biscuit dough.
mix flour, baking powder and salt. Cut in shortening until mixture is well-blended and shortening is evenly distributed in small beads.
mix in milk. dough should be evenly wet. add more if it’s too dry. (Too much liquid will make a heavy biscuit, too little will make them dry).
Butter a 9 x 13 glass baking dish. Press half of the dough (probably need well -floured hands) into the bottom of the dish and a little up the sides to about 1/4 to 1/2 inch thick.
For filling:
2 c. cooked, shredded chicken (more or less if you like)
2 c. (or eyeball it) frozen (or fresh chopped) mixed vegetables (I used the organic mixed from Costco)
2 cans cream chicken soup
1 can chicken broth
Mix these ingredients and microwave for 30 seconds at a time to get lumps out of cr. chicken soup, stirring in between. Sometimes, 30 seconds is enough.
pour mixture into prepared baking dish
With the remaining biscuit dough, tear off pieces and shape into flat biscuits of any shape and place on top of mixture. It’s fine if some of the mixture is still showing.
Bake at 450 for 20 minutes. Halfway through baking, brush or drizzle melted butter over top biscuits.
Remove from oven and let sit for 5 minutes covered.
*I’m sure this would be just as good with refrigerated biscuit dough or crescent roll dough and of course, refrigerated pie crust. I tried this version because the 9 x 13 feeds our family better.
I have to give my friend, Alicia, credit for the pot pie filling. She told me about it years ago. Again, it’s a slightly easier version than making your own filling with flour, butter and chicken broth. You can go that route if you want to avoid the cream soup.

Trying to link up to Frugal Fridays at the Shabby Nest with a button: