Category Archives: Projects

A Garden Table Makeover

“Quick” is relative. In terms of hours, this project didn’t take long but let me confess, it actually took about 15 years to complete. Let me ‘splain. This homemade (not by me) workbench sat in our garage for about 5 years after we moved in. We did not use it as a workbench, rather, it was a catch-all for junk. The first time I ever cleaned out the garage, I decided to take it out to free up some space. I sort of crab walked this table one end at a time, by myself, to the side of my house, thinking I’d use it for a potting bench. The sucker is HEAVY and it was UGLY!. Picture legs made out of pressure treated posts, scrap wood made up the apron and lower shelf. Finally, the top is a piece of sheet metal that had splotches of paint on it. I seriously think the inept contractor who owned the house before us found the sheet metal first and decided to build a table around and under it. Here she is before…..without the sheet metal top.

So, it’s been a useful potting bench and beverage and serving table in our yard for about 6 or 7 years. Ugly, though. I always covered it with a tablecloth but the bottom still showed. Let’s just say, it was completely utilitarian. I have admitted before that I have NO imagination or vision. But the creative, DIY blogs have made me look at everything with different-colored glasses. So, last fall, I decided I should paint the darn thing. But I only got around to primering it. This spring, the the girls had a neighbor friend over and were bored and I had some leftover light green sample paint, so I let them have at it.

So, the bottom was painted and has been sitting for a month. What to do about the metal top? The girls wanted to do a mural. Good idea considering they and the neighbor girl are extremely artistic. Then I decided to paint the top black and decide later what kind of design on top-even if they designed it. Then I discovered some left over chalkboard paint in the basement-SHAZAM! It’s perfect. The kids have been having a field day with the sidewalk chalk on it but when I have a party, I can label what I’m putting on it or just write a message. I like it so much better. What I love about this DIY stuff is that even a small change to something makes a big difference in how I feel about any space.
I’ve also been working on painting my hallway. I’ll post about that when it looks a little more decorated. I’ll tell you, though, it’s hard for me to clutter up a newly painted space.
Here’s the “after” picture of the table.

I’m linking to “Show and Share” Day at Just A Girl and Frugal Fridays over at the Shabby Nest. Since I used leftover paint for the base and I did need an extra can of chalkboard paint, I’ll count the cost of the chalkboard paint…this project cost less than $5. That’s frugal, right?

Also linking to Kimba’s DIY DAY “Outdoor Edition”. I’ve missed the DIY days.


Summer’s Here!

Inspired by other bloggers and armed with a few paint chips, I decided to put together our own “intentional summer” list. I thought I had a sheet of clean poster board but couldn’t find it. Then I spotted this half piece that I painted a test color for the girls’ room. I thought it looked summery so I wrote right over it. I’m not advocating raiding the paint department for paint chips for this project but you probably have a few laying around. It cheerifies the poster.

We likely won’t get to all of the things but we’ll do a lot of them and I’m o.k. with that. Summer is about dialing back for me and I try to let the kids enjoy a little laziness of summer.  I have a vivid memory of waking up on the first day after school was out with the sun streaming in, a slight breeze blowing the curtains, a lawnmower buzzing somewhere in the neighborhood and being so happy to have the whole, open day ahead of me. I want the kids to enjoy that, too which is why I won’t be obsessing over checking off the list. It will just be fun to see how many we can check off. Since we homeschool, some things will be better left for the first few days of September when everyone else is back in school.

I’m linking to Chris’ “Show and Share” day at “Just a Girl”. Check it out. People have some GREAT ideas and Chris’ blog is really beautiful, too.

My First DIY Post

Last summer I discovered blogs where mostly women were wielding power tools and spray paint and decorating their homes and lives with a lot of elbow grease, ingenuity and thrift store finds. I was addicted and inspired. It was the perfect diversion or escape from everything homeschool (or was it). I had a neighbor once who would drag old, beat-up furniture into her yard and spray paint it. Maybe I just didn’t like her taste, but it never inspired me to try it myself.

But the blogs I discovered last summer did inspire me.

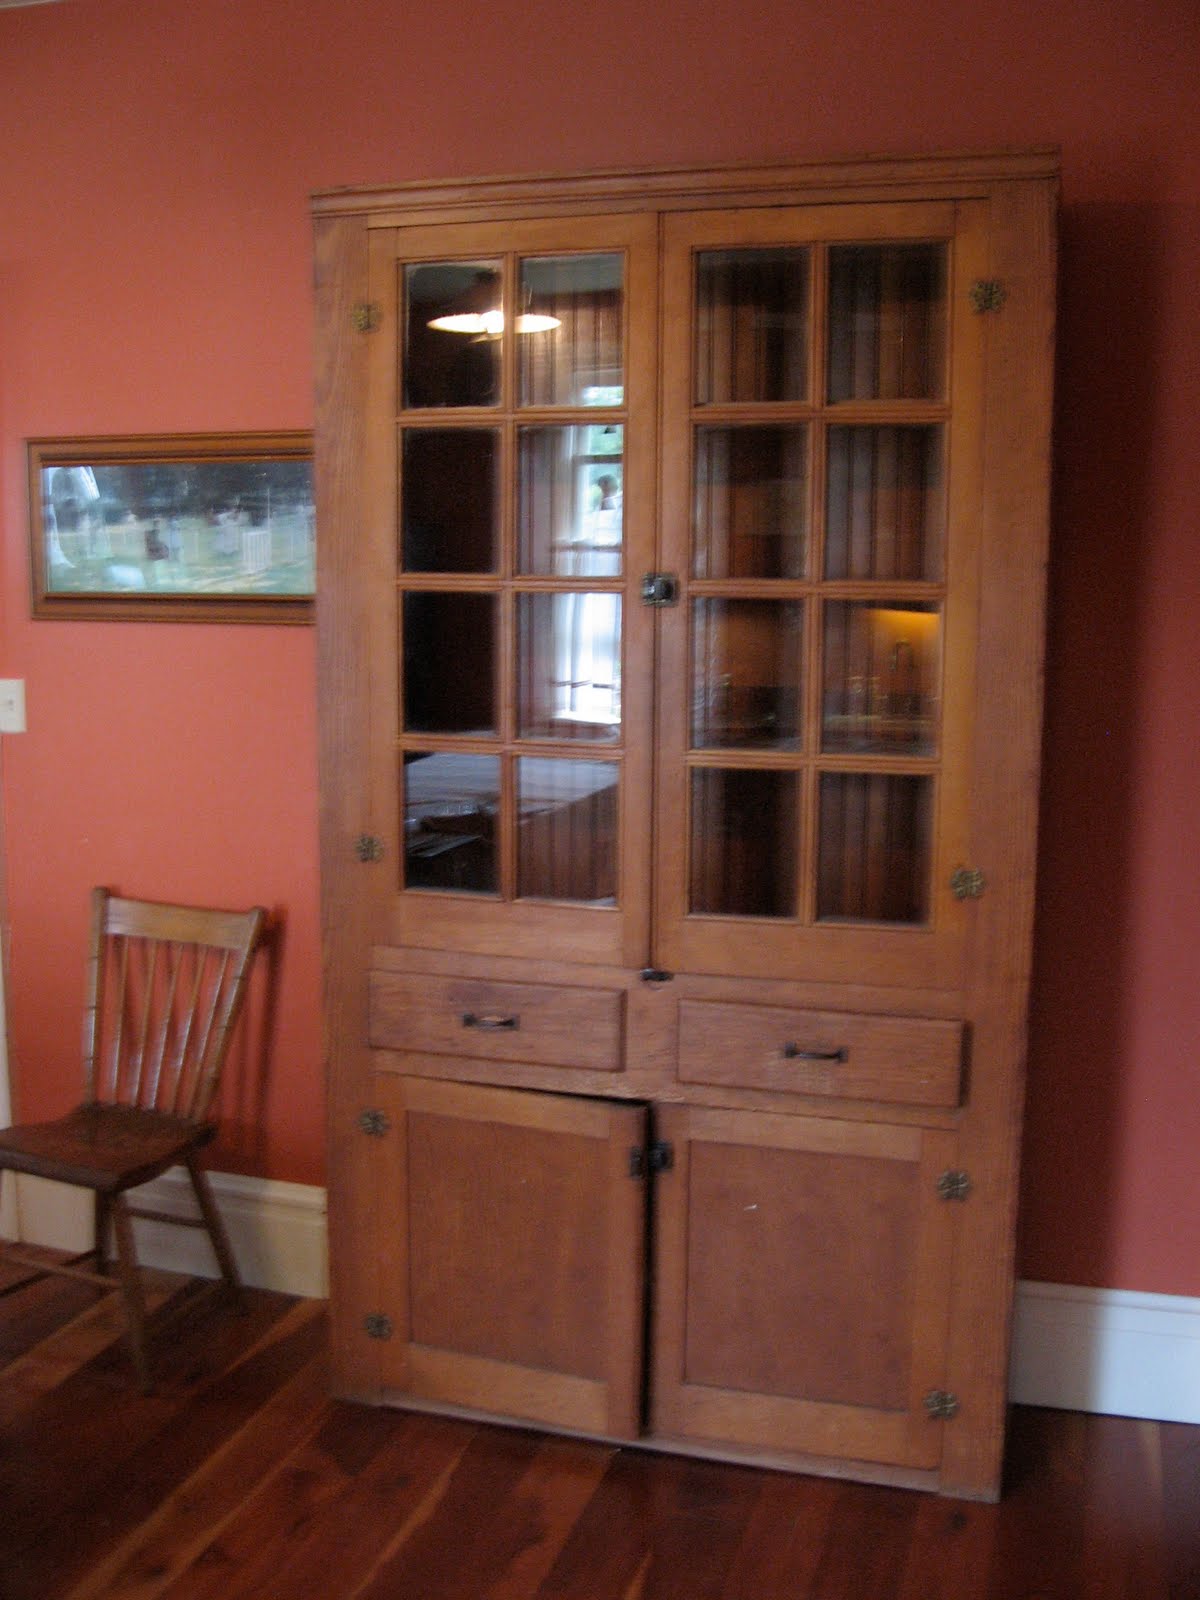
Mark comes from a family of natural wood lovers. All grains and tones. His dad’s hobby was to refinish antique or primitive pieces and decorate his home with them. He taught me how to strip and refinish and I did do a few projects but I was never passionate about it. I think because I just love the look of painted wood so much more. I also thought wood was supposed to be painted with a brush-consequently, I didn’t do much of it. Don’t get me wrong. I think brushing on paint is much more economical but takes a lot more time. Nevertheless, the first re-do I’m going to show you is a hutch that Mark and I bought at an antique store the second year we were married. We both loved it. His dad thought it looked cheap but we decided to plunk down the $450.00 anyway and we stuffed it into our apartment.

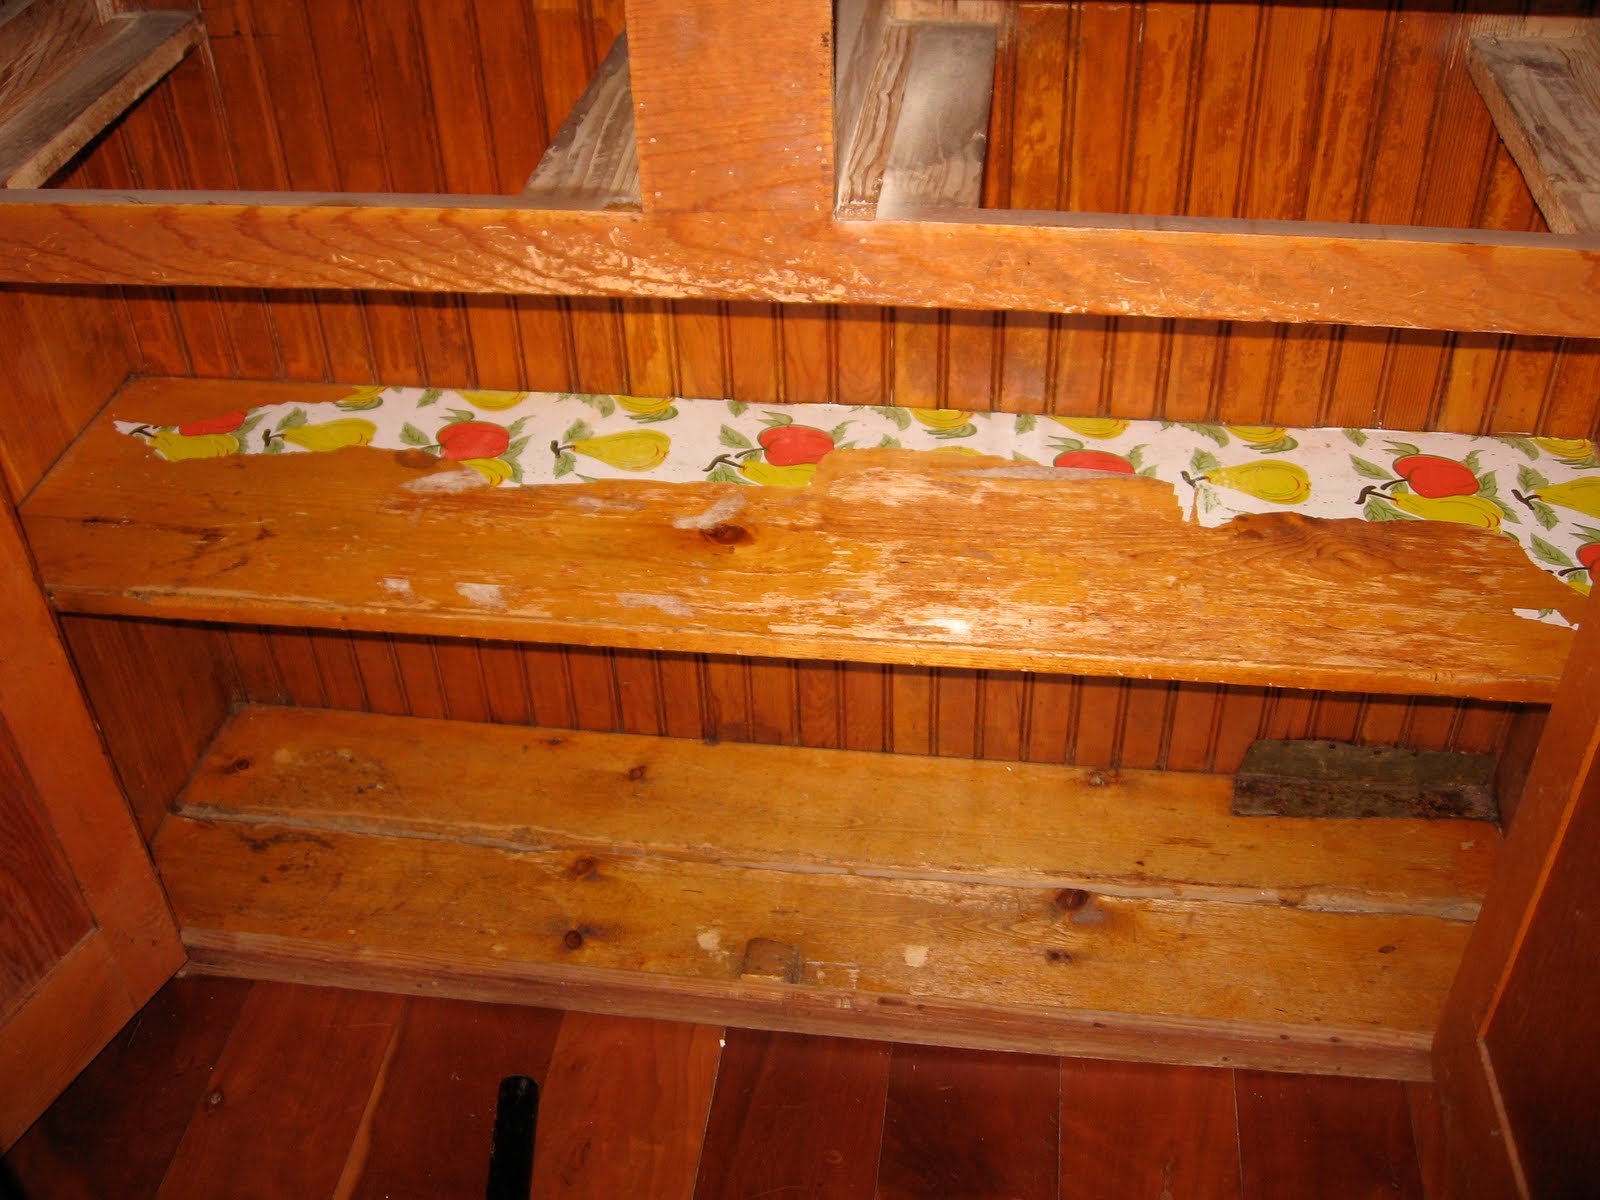
We live in an old farmhouse that was built in the 1860’s and the hutch fits here perfectly. It’s also huge so it’s been useful. Before last summer, I never considered changing it. I even left the vintage shelf-liner in it.

Almost forgot to take a picture before I tore the vintage paper out
 

Check out that beautiful beadboard on the back of the hutch. As you can see, it’s a big, honkin piece of furniture and the wood isn’t particularly beautiful. Since it seemed to go with the house, it never occurred to me to paint it. It took a few days to break it to Mark and to convince him that it would look better painted. He never likes the idea of painting over wood. He usually sort of shakes his head when he sees me painting (I’m not a detail person). So I went at it. It’s too big and cumbersome to move out to the yard, so I was forced to paint with a brush. (Which I find very relaxing and satisfying, but time-consuming).  I primed it with Zinser 1-2-3 because I have a lot of it. I know an oil-based top-coat would have been recommended in this case because of the durability but I didn’t have any and I didn’t want the hassle of cleaning the brushes with

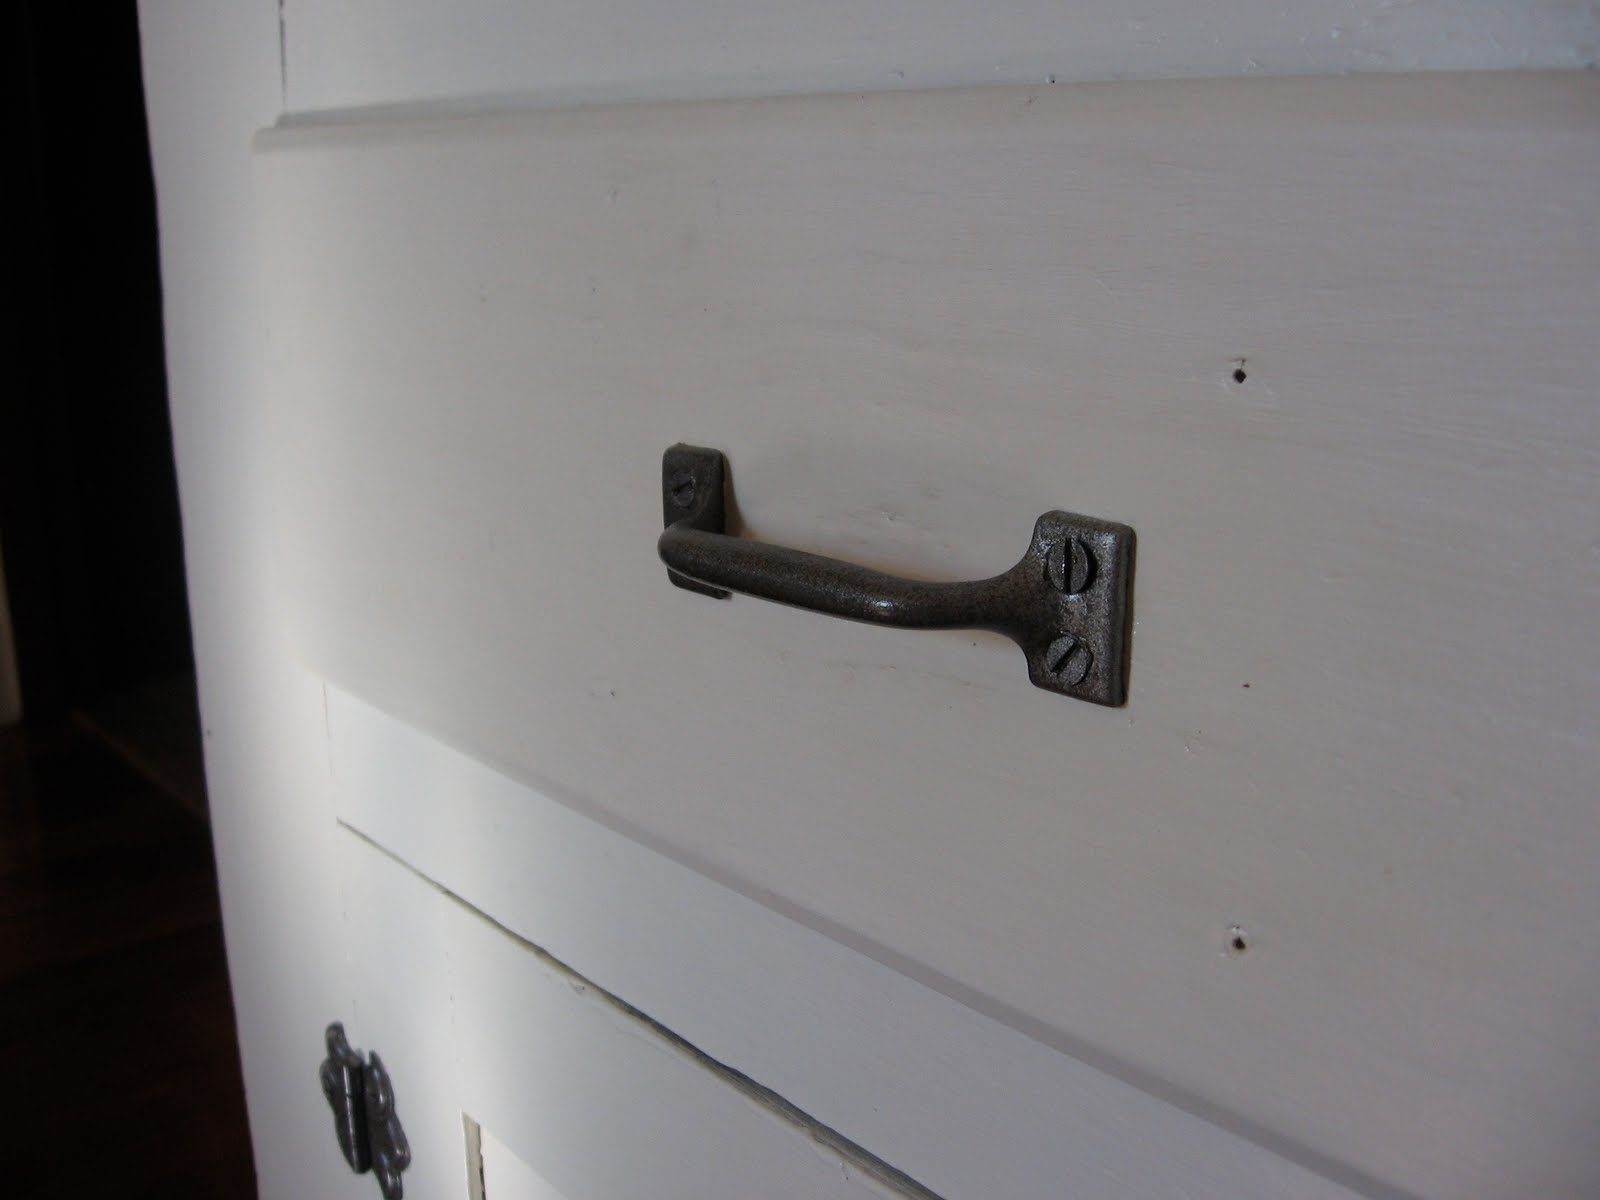
After I primed the whole thing inside and out and the glass doors (not the back-it’s against the wall), I had to take the doors off to spray the hardware. The hinges and handles were an ugly brass. Rather than replace them, I sprayed them first with a nickel finish which was too shiny or something. So I added a light coat of Rustoleum Hammered Bronze which toned it down a bit.

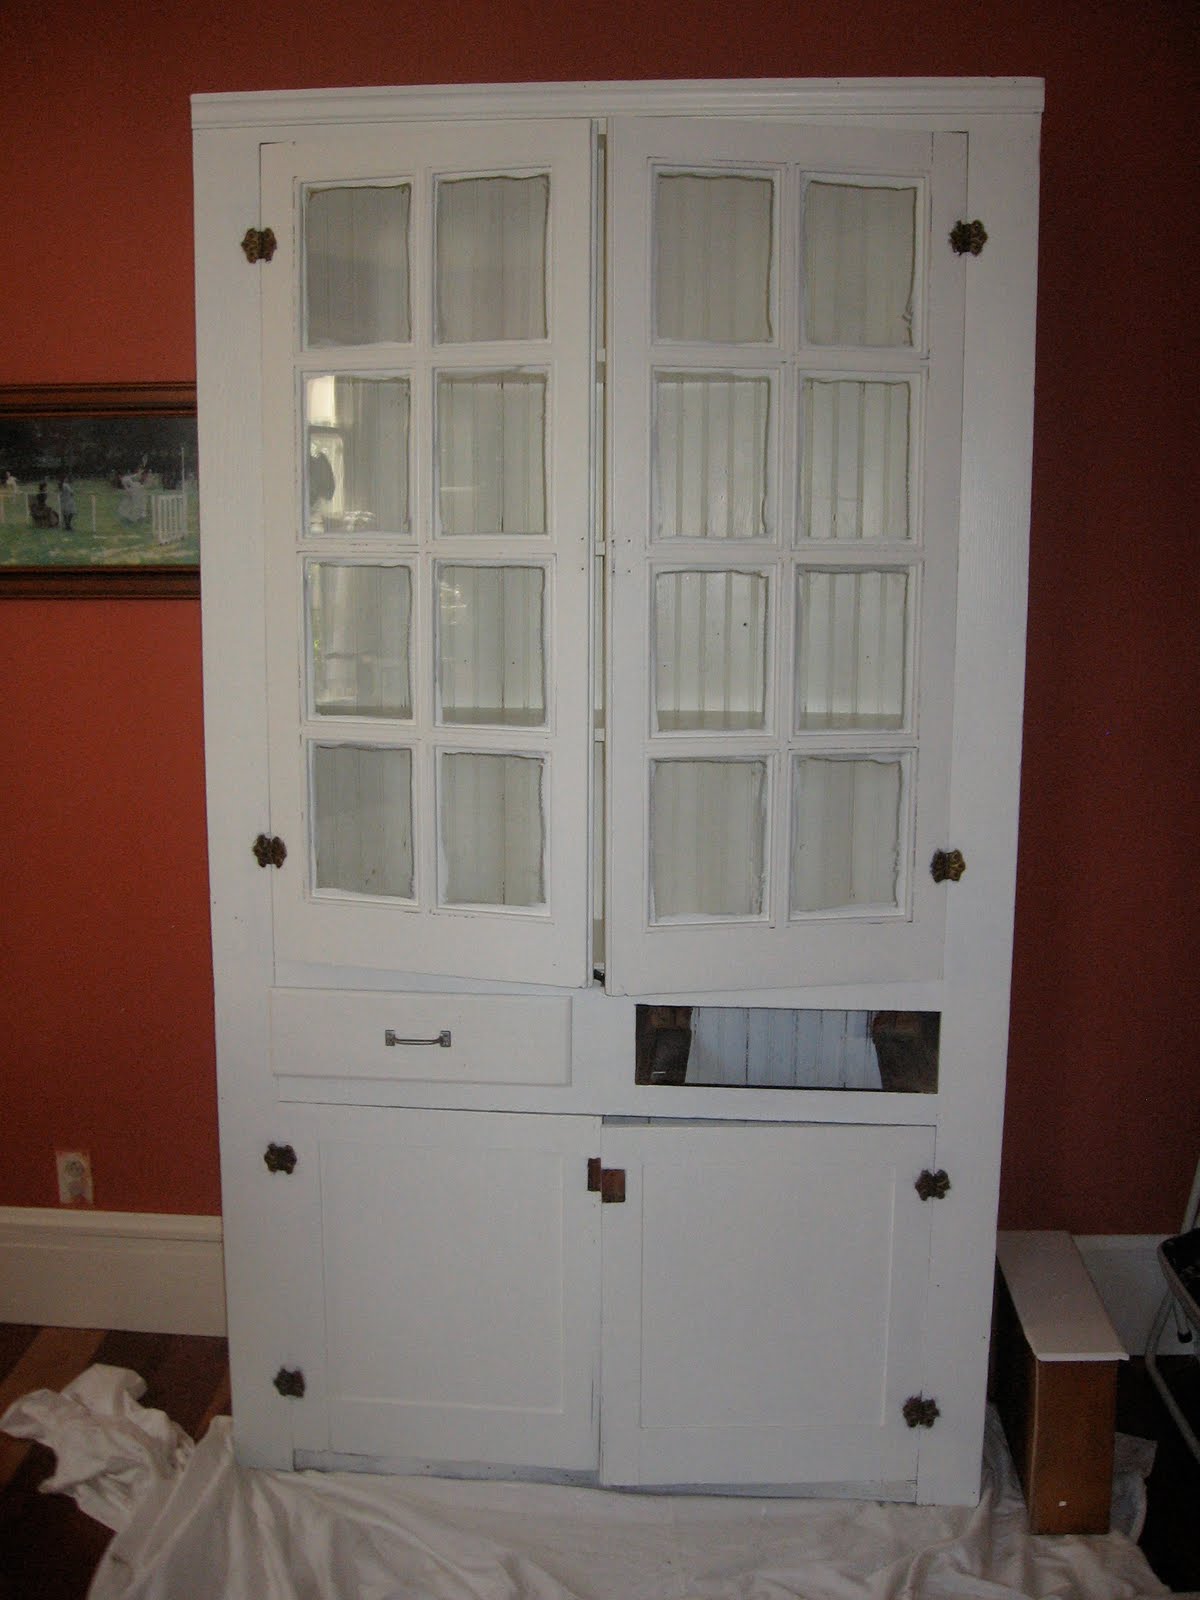
Once the doors were off, I loved the look of it and decided not to put them back on. Mark was skeptical because the doors do have a lot of character.
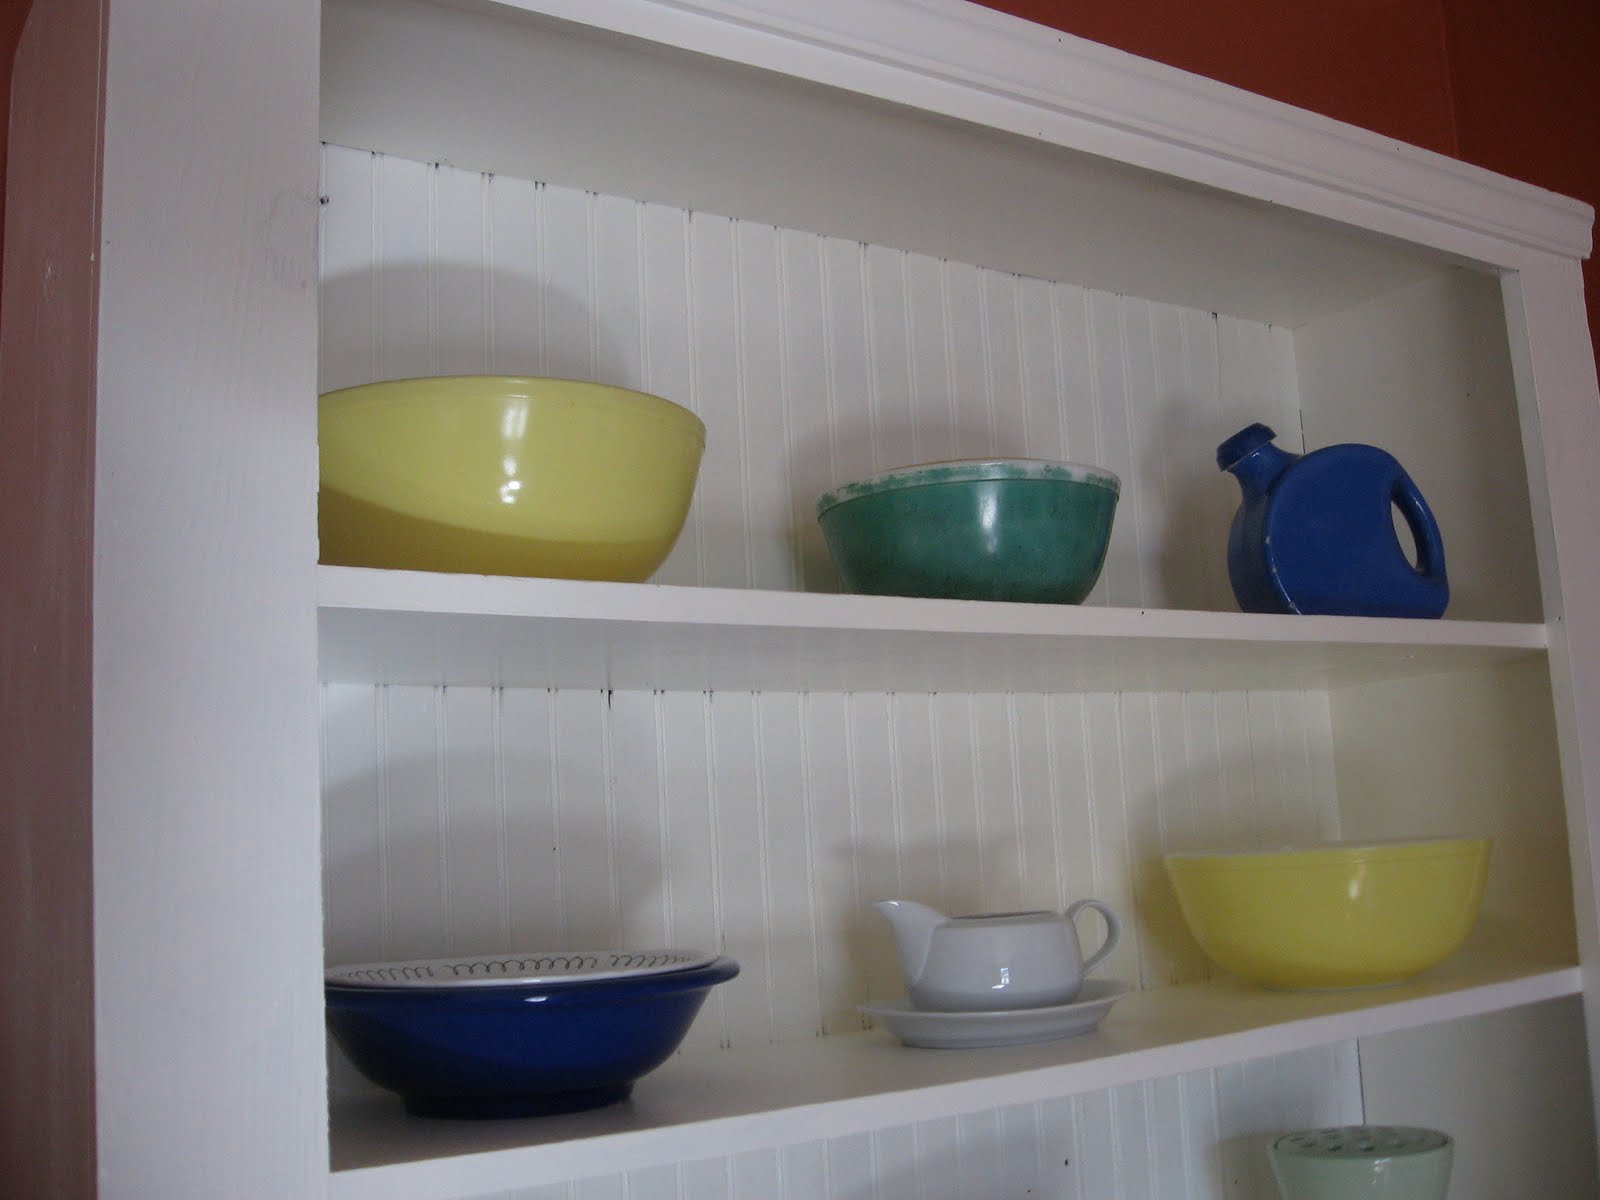
After about 3 coats of the paint color (sorry I completely forget what that is), I placed a few dishes on the shelves and decided I liked it better. I just think it looks less cluttered.
I’ve always loved and have never had open-shelving and LOOOOOVE it. I keep my wedding dishes here and we use them all the time. Fortunately, we picked a pattern that isn’t too fancy. Since they’re so accessible, we use them all the time.
I love the vintage pyrex nesting bowls. I got a yellow and green from Mark’s mom and found the red and blue (not shown) from an antique store. Since they’re accessible, I use them all the time, too.
So, there you have it. My first DIY post. If I can figure out how to do it, I’ll link to Chris’ “Show and Share Day “at “Just a Girl”, and “Transformation Thursdays” over at the “Shabby Chic Cottage”. Check out what some of these people can do! Be warned, if you have even the slightest notion to do something yourself, you’ll be hooked!
To sum up here’s the Before:
 
 
And now for the After:
Don’t comment on my bowl placement. I wanted the space to look uncluttered but also useful. The only thing I really don’t use is the vintage pitcher on the top right shelf but I like how it looks up there. 
 
Go paint something!