Tag Archives: DIY

DIY Slipcover Repair + Joy for teens!

I realized after last week’s major slipcover catastrophe that I never posted photos of the finished slipcovers. Without further adieu……………………

TA DA!

DIY slipcover "after"


Here’s another view of both pieces of the couch….

DIY slipcover "after"

I was able to make a few minor repairs and the covers look pretty much the way they did before the washing machine chewed them up. There are some spots by the zippers that could use some attention, but since they aren’t visible, I’m not worrying about it now.

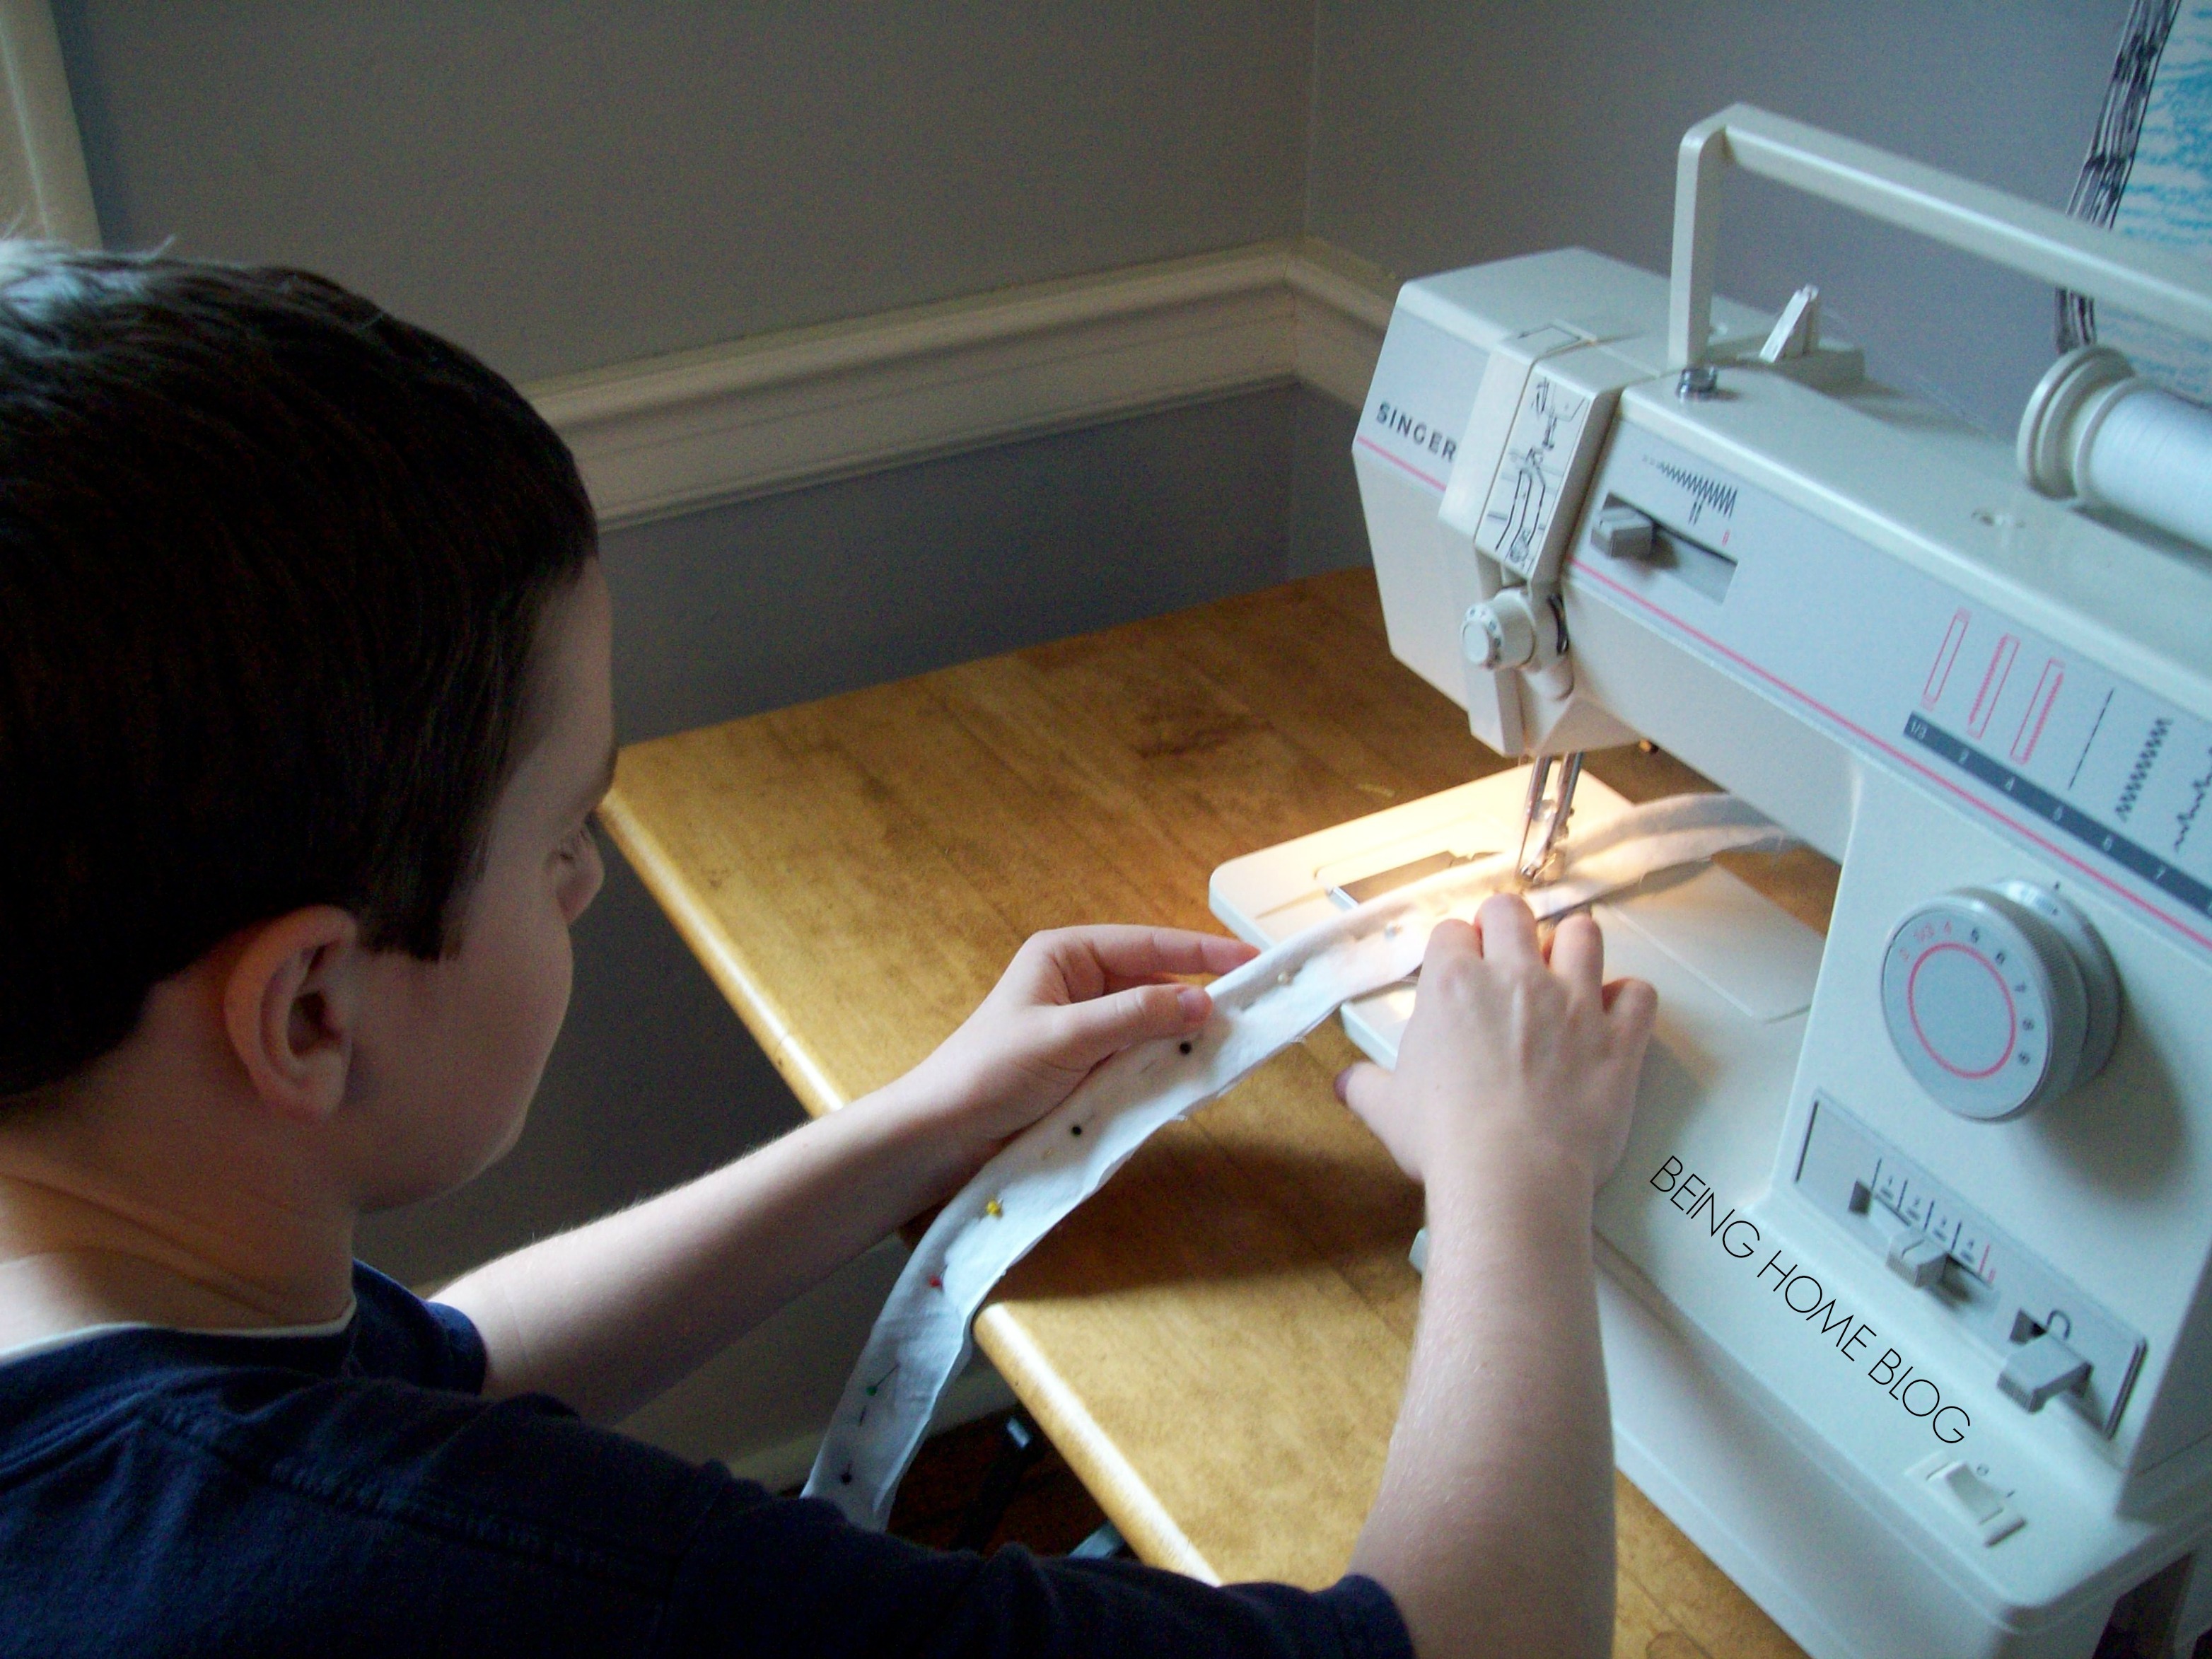
I actually shot video of almost the entire process of making the slipcover. I still intend to publish the video in a series of steps but boy is it time-intensive to edit and upload. Mark was my cameraman and makes a few cameos. He’s far more natural in front of the camera and I actually considered using him as a stand in for the entire series.

So, you’re probably wondering how the white’s working out? To be honest, the main part of the cover could use a bath but I’m a little hesitant to throw it in the machine. I will try gentle. I might try to secure the edges before I toss it in. No matter what, I’ll use less bleach on the gentle cycle. I’ll report back on that.

In case you were wondering, the couch is in our recently remodeled basement room. That remodel was the first step in my plan to repurpose my house to accommodate our growing (in size not number) family.

The plan is just one element of my intention to “MOVE” in 2014 and so far, things are progressing.

A joy plan for teens

I wrote last week about “40 Days to a Joy-Filled Life” by Tommy Newberry. I ordered the teen version for one of my children and we sat down last night to begin the study. I can tell that it’s going to be a productive read for both of us. As impressed as I’ve been by the action plan for adults, I’m just as convinced that the plan for teens will be just as effective.

The first day’s lesson talked a little about the power to choose thoughts and their effect. The drill suggests identifying thoughts which are opposite of  the person you expect to be and the person God intends for you to become. Then, Newberry suggests preparing a joy-producing thought to replace it and sharing it with someone. We decided that we would text each other our joy-producing thoughts. It’s just a proactive plan to push negative thoughts out of the thought loop.

Our plan is to go through the book during lent but I’ll be recycling these exercises forever.

Linking up to Elizabeth Foss‘ blog:

needle and thREAD

Disclosure: This post contains affiliate links. If you purchase something through the link, I’ll get a small commission at no extra cost to you. Thank you so much. Even if you don’t use these links…..these books are GREAT!

How NOT to wash a slipcover

How NOT to Wash a Slipcover! (And a book recommendation for lent)

How NOT to wash a slipcover

This is what happens when you throw your DIY slipcover into the washing machine


Shame on me for NOT getting around to taking a photo of the slipcovers I made by myself. I will post a photo after I repair them. I still hope to publish a slipcover tutorial because I learned by reading and watching other tutorials on the internet and I want to encourage you to do it, too.

One reason I chose white instead of gray was so that I could wash them with bleach if necessary. I was surprised that they were beginning to get very dingy (in spite of the winter season and the kids not playing outside much). Maybe it’s a clue as to how dirty our house is….blech!

I put the cushion covers into the washing machine on the soak setting. This machine is new to me (but used) because our fancy, schmancy Fisher and Paykel washing machine needed yet another motherboard and I wasn’t having any parts of that. I wasn’t aware that the soak cycle was manual and maybe it’s not supposed to be. Like I said, this machine is used.

The slipcover was soaking in bleach water over night. That ain’t good. I ran it through the spin cycle to drain the water. They were in pretty decent condition after that and I decided to just run them through a normal cycle. As you can see by the mangled, frayed, hot mess above, I should have taken a few precautions.

If you took the time to make your own slipcovers, you might want to follow these steps in order to minimize damage during the laundering process

#1 Zip your slipcovers closed

I’m pretty sure this one simple step would have minimized the fraying and protected the zippers. Instead, nearly every edge frayed into a tangled pile of string. The underside of one cushion completely came apart in the middle. Boo.

#2 If you’re planning to use bleach, minimize the soak time

Bleach is pretty potent stuff. It can be brutal on fabric, thread and seams. Have you ever accidentally spilled it on something? I have and it burns holes through fabric.

I know, I should have used a chemical-free, natural whitener. Honestly, I haven’t found any that work as well as diluted bleach. I know I’m weird, but the smell also makes me think it’s really clean.

#3 When you’re making your slipcovers, serge or bind the edges if possible.

I don’t have a serger (they kind of scare me) but I know you can protect edges manually by using a zig-zag stitch. This would have minimized the fraying and the piles of thread and fabric I ended up cutting off the covers.

#4 Use the gentle cycle

Again, I’m not sure this would have prevented fraying and tearing altogether but I think it would have helped. Had I zipped the covers first and washed them on the gentle cycle, I don’t think I would be forced to repair the covers.

So, I learned my lesson. Of all the slipcover tutorials and tips I’ve read, none has ever warned about the dark side of laundering them. I did read one post about PREWASHING the fabric to prevent shrinkage after the slipcover is made. I hope these tips will help you avoid the same mistakes I made and preserve your handmade slipcovers.

Although I wasn’t planning to sew this week, I’ll be getting the machine out to try to salvage the cushion covers until I can spend more time replacing some of the parts that lost too much.

Now for the book recommendation….

40 Days to a Joy-Filled Life

If you’re looking for a lenten devotional, this book might be perfect

I’m currently reading a great actionable study of Philippian’s 4:8. “40 Days To a Joy-Filled Life” by Tommy Newberry is kind of the workbook to his first book called “The 4:8 Principle“. The first book explains and makes the case for taking Paul’s advice to set your mind on what is true, noble, praiseworthy and excellent. The companion book breaks it down and suggests daily “drills” to help you practice joy-producing thoughts.

I’m about half way through the book and it has helped me maintain peace and even joy in spite of some challenging circumstances. It’s definitely a book that I’ll refer to repeatedly but it’s been great to help me identify joy-reducing thoughts and practices during my days and replace them with joy-producing thoughts.

Newberry has worked as a life coach for years and has such a clear way of explaining and supporting his ideas scripturally, spiritually, practically and physiologically. Not only does he effectively convince the reader that joy is a choice regardless of your circumstances or environment, but he gives you a plan to experience joy as a habit by controlling your thought patterns.

I highly recommend both books and even got the teen version, “Think 4:8“, for one of my daughters. We plan to make our way through it together during lent.

On that note, I think these books are excellent devotionals for lent. You can start “40 Days” without having read the first book, but if you’re not convinced that joy is a choice, you might want to take the time to read “The 4:8 Principle” first.

Linking up to Elizabeth Foss’ blog. If you’re looking for inspiration for sewing or something to read, head on over there.
needle and thREAD

Also linking up here:

The Shabby Nest

Go BE INSPIRED!


Disclosure: This post contains affiliate links. If you click on a link and make a purchase, I’ll receive a small commission at no additional cost to you.


DIY Slipcover Sneak Peak

Nothing like a room makeover to get you motivated to do something you’ve been meaning to get around to for 2 years! I posted photos of my heinous basement  a couple of years ago (scroll down to the “TV” room with the couch. See that brown couch?….here’s another photo of half of it:

DIY slipcover before photo

Kind of “Madmenly” Don’t You Think?


I actually think the shape of this couch is pretty cool, even the brown chenille upholstery but it’s just a little too tired and I’m not cool enough to pull it off “as is”.

I picked it up at a consignment store a few years ago for $50 after the whiff test and the sit test. Our basement has narrow openings and I thought this would work since it came in 2 pieces and it’s mid-century self is small. I don’t know why the furniture was so short/small just a generation ago but it was. Both pieces are still sturdy and obviously came right out of an estate where they were likely covered in vinyl slipcovers for the previous 40 years…works for me.

I wasn’t sure whether I would eventually reupholster or slipcover it. I decided I didn’t want to tear into it and I love the relaxed look of a custom slipcover so I decided to try my first one.

After 18 years of intending to do something in the semi-finished basement room, we finally decided to have it done. I wish we could DIY but neither of us has the time or expertise to tackle it. The contractor who remodeled the kitchen over at the duplex is fixing it up for us. (I really promise to do a post about that project).

Now was the time to start those slipcovers (remember, this couch has 2 halves).

I’m going for a relaxed but fitted cover around the body and I’ll recover the foam cushion separately. I have some experience with those as you can see here and here, so it shouldn’t take too long.

Here’s a photo of my progress…

DIY Custom Slipcover

About half way through the first piece.


I’m only putting piping on the top of the slipcover part and around the edges of the cushions. It adds a more finished look and isn’t too hard to insert on these straight lines.

I plan to post a tutorial. Basically, I’m pinning 2 seams together inside-out, sewing, pinning another 2 seams together, sewing and just putting the puzzle together and figuring it out as I go along. So far, this method is working well. Mark’s helping a little with ironing and sewing and is more excited than anyone for the changes.

Mark sewing piping

Sew Easy an 11 year old can do it.

I’ll post a more detailed tutorial (and maybe a video) when I put the cover for the other part of the couch together. I need to see how this one goes together first and the second one should go even smoother.

Since I’m linking up over at Elizabeth Foss’ series “Needle and thREAD”, I’ll mention that I’m rereading a book that doesn’t necessarily advocate homeschooling but it might be the single most influential book in convincing me that homeschooling was a great option.

In a “A Mind At a Time“, Dr. Mel Levine describes and demonstrates how people are wired differently so that they learn and process information differently. He’s so thoughtful and articulate and just makes a great case for accommodating strengths and strengthening weaknesses. He has clinical experience as a pediatrician, taught pediatric medicine at the University of North Carolina and has studied learning and development throughout his career.

I’m always fascinated by how the mind works and this book gives great anecdotal examples. When I first read it, I wasn’t even considering homeschooling but appreciated it as a great parenting resource to understand the differences among my children and to understand my own strengths and weaknesses. Because he writes about real patients in his practice, the book isn’t dry at all. Much of it reads like a series of stories to demonstrate his ideas and conclusions.

Go check out Elizabeth’s post and the comments to see what others are sewing and reading by clicking on the button below.

needle and thREAD


Disclosure: This post contains an affiliate link. If you purchase a product through the link, I’ll receive a small commission at no additional cost to you. Thanks!